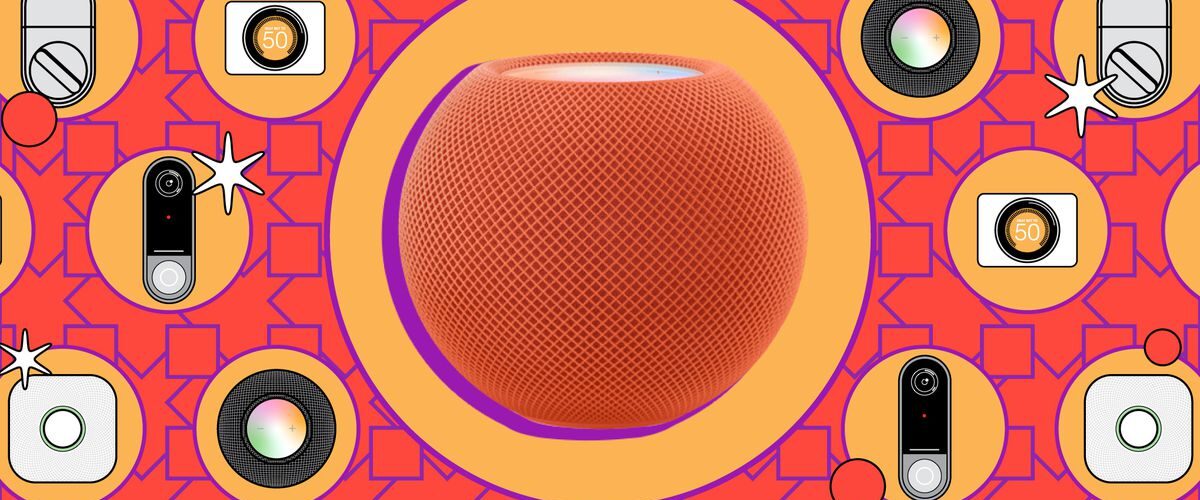


Your HomePod Mini can now tell you how hot it is in your room, as well as clock the humidity. The new HomePod will be able to do this, too, so here’s how to put it to use.

With the latest update to iOS 16.3, your Apple HomePod Mini smart speaker can now monitor the temperature and humidity in your home. No setup or extra hardware needed! The soon-to-be-released HomePod 2 will also have this capability.
In this article, we’ll go over how to use this new feature and show you how to use it with Apple Home smart home automations.
How to check the temperature and humidity in your room using your HomePod
With the new temperature and humidity sensing in the HomePod, you can easily check what the temperature is in the room your smart speaker is situated in just by asking Siri. Say, “hey Siri, what’s the temperature in here?” and the voice assistant will reply with its current reading. The same goes for checking humidity.
You can also use the Apple Home app on an iPad or iPhone to view the current readings. Here’s how to see the temperature or humidity in your home — this works when you are away from home, too.
- Open the Home app on your iPhone, iPad, or Mac.
- Tap Climate in the top shortcuts row.
- Tap Temperature or Humidity in the next shortcuts row.
- Next, you’ll see a list that shows your HomePod and its current temperature or humidity reading. If you have more than one HomePod, you’ll see them all listed — along with any other devices that read temperature or humidity (such as a thermostat).
- Tap the HomePod card in this view, and get the settings for the sensor. Here, you’ll find various options, including one for setting up automations using the sensor. (See below for more on how to do this.)
- Another way to view the readings is to open the Home app and go to the room your HomePod is in (i.e., living room or bedroom). The current temperature and humidity your HomePod is reading will be in the top row in the app. (If you have multiple temperature and humidity sensors in a room, this reading will show the range between the sensors.)
- To get the details from one sensor, again tap on the temperature or humidity shortcut to open a screen that shows each device’s individual reading.
How to set up temperature and humidity automations with a HomePod
Using Apple’s Home app, you can put the HomePod’s new sensors to work creating automations that make other smart home devices respond to the temperature or humidity rising above or dropping below a certain threshold.
This could be used to turn on a fan connected to a smart plug when the temperature rises in your bedroom or to turn on a humidifier when the humidity drops below a comfortable level. If you have smart shades, you could set them to lower if the temperature rises in a room between noon and 7PM.
Apple does warn that the sensors are optimized for ambient temperatures between 69 degrees Fahrenheit and 86 degrees Fahrenheit and relative humidity around 30 to 70 percent, and that accuracy isn’t guaranteed if the speaker is playing music for long periods of time at high volumes, so bear that in mind when relying on any automations you set up.
- Open the Home App.
- Tap the plus button in the top-right corner.
- Choose Add Automation.
- Select A Sensor Detects Something.
- Select the temperature or humidity sensor you want to use. It will be labeled HomePod Sensor with a thermometer or humidity icon next to it.
- Tap Next.
- Select what will trigger the automation: if the temperature / humidity rises above a certain point or drops below a certain point.
- Choose the time this will happen. You can select Any time, During the day, At night, or set specific times between which the automation will occur.
- You can also set the automation to only occur when anybody is home, when you are home, when nobody is home, or when you are not home.
- Then select what action will occur. This can be an action by a single device, such as turning on the fan, or you can select actions by multiple devices. You can also choose to trigger a Scene (which is a preset collection of actions).
- Tap Next and name your new automation.
- Test your automation by tapping the prompt. (This is optional.)
- You can also choose to have the action automatically turn off after a set period of time — the maximum is four hours. (This is helpful so, for example, you don’t have to set a second automation to turn off the first automation.)
- Tap Done.
- You can always go in and edit, disable, or enable any automation in the Automation tab of the Home app.
